Posts

Bop it! Twist it! Reverse it!
Image
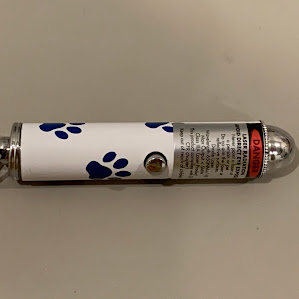
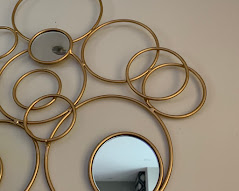
In this milestone project, it's all about dissecting "mechanical" objects. We measuring the items inside and out and down to the bone. It was was kind of hard finding objects I was able to take apart without breaking with my clumsiness, but alas I found items that were easily dissectible.  The first item I found was a laser pointer that I had for my cat. I was able to easily take it apart and put back together, plus it wouldn't cost me a lot of money if I ever ended up breaking it. It was something simple on the outside but with complex enough components that make up the inner mechanics of the laser pointer. Next is a mirror that I got it from IKEA, which was pretty much meant to be assembled. Almost each part of the mirror could be taken apart and easily assembled which is why I chose this for my second item. My third item is a lamp that was also bought at IKEA. This one is the simplest out of the three but still has some complexity when it comes to the light bulb an...

X marks the pattern!

Image
On the second part of the scavenger hunt, I made a pattern that was inspired by some designs I found around the house and ones while browsing the internet. I really like that peter pan/nature aesthetic so I wanted it to look and or feel like so. My main inspiration on what I wanted my pattern/design to look, other than from the pictures I took in the scavenger hunt post, was a compass and mandala art: My Inspo from the previous scavenger hunt: I first started the center design, which was a star and leaves. For the star I used the polygon tool, clicked the star option and changed the sides to 4. As for the leaves, I started of drawing the line work with the poly tool and then rotating the finished leaf. After, I added more triangles and with the poly tool and circles with the ellipse tool to shape the compass/arrow part of the design. Since, I wanted to make my design look more like a flower I rotated different sized circles and rotated them. Then I trimmed the unwanted parts to make ha...

On a hunt!

Image
      These are the designs I want to try:  I kind of want to go for a circular design that's more on the minimalistic side but I also want to try out those kinds of patterns you see on gift wraps.

Castle in the sky

Image
This was the type of project I didn't know how to start. When thinking of castles, usually the first type of castles that pops into mind are the princess-Disney-medieval European castles. But thinking further, I remembered Asia has pretty neat castles of their own —  so I went to research some castles from East Asia and that's when I got inspired. Since I really like making things more on the fantasy side of the spectrum, I wanted mine to be a castle floating in the sky. The Blue Castle in Japan was one of the main inspirations to the look of my castle. I started off with the smaller buildings surrounding the castle, which was not too hard since they were just basic extruded rectangle and squares. The hardest parts of the building may have been building the roofs. It took me awhile, but since roof isn't exactly a regular triangle, I figured out I had to loft a rectangle to a slimmer rectangle to make the shape of it.     Next was making the castle itself. It has a similar...

Crystal Hybrid Hollow

Image
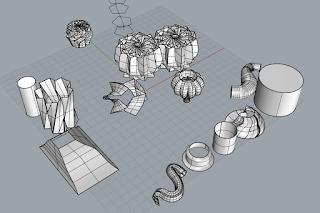
For our hollow hybrid we had several difficulties, especially on our first draft of the hybrid. This is Clarice's concept objects.  This was the several drafts we had trying to combine Clarice's onion bulb shape with my twisty cage looking shape. We had a little bit of a hard time combing these two since there were a lot of protruding edges, uneven sections. They wouldn't join easily since my shape would only go through naked edges. Our second draft a more of a success. We instead combined my teardrop shape with a piece of her jagged rose and Boolean difference it. In the end we got the cool looking teardrop crystal shape. The filament the we had made look better since it was see through with a shiny finish. It really made it look more like a crystal. If we had overlooked our hybrid again, we would have stretched out to make it taller so there wouldn't be any steep lines on it. nbb

Grand Finale

Image
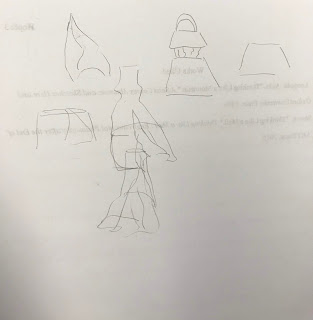
The final FINAL project, our group decided a zipper looking vase from both our hybrid hollows. This was our initial sketch of how we wanted it to look like. At first we wanted to take the bottom of Vanessa and Kyle's project and Boolean Difference it with our water drop hollow to make something like a cake with a piece of it cut out. But after trying out many ways to combine it, we couldn't make the bottom work. So then we took another part of Vanessa and Kyle's project which was the smaller pillars. But since it was slanted, and we didn't want it topple over, we cut it half and stretched it out. This is our final out come of out project. It's simple but I think it looks pretty cool.

Retro paper craft

Image
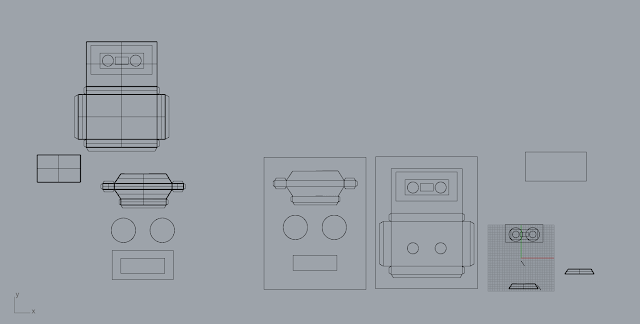
For final part of the paper craft project, I refined the prototype of the cassette tape.  prototype sketch For the laser cutting part of the project, I only had the main outline and the circles of the cassette cut out and had the blue dotted lines for the folded lines. I also added the back two holes on the tape so the tape shows both on the back and front.  The rest of the bolts, roll of tape and the red cover I cut by hand. This is how the final turned out. I think the most difficult part of this project was gluing them all together. Parts of it, especially the front part of cassette tape (bottom center), would not fully stick together.