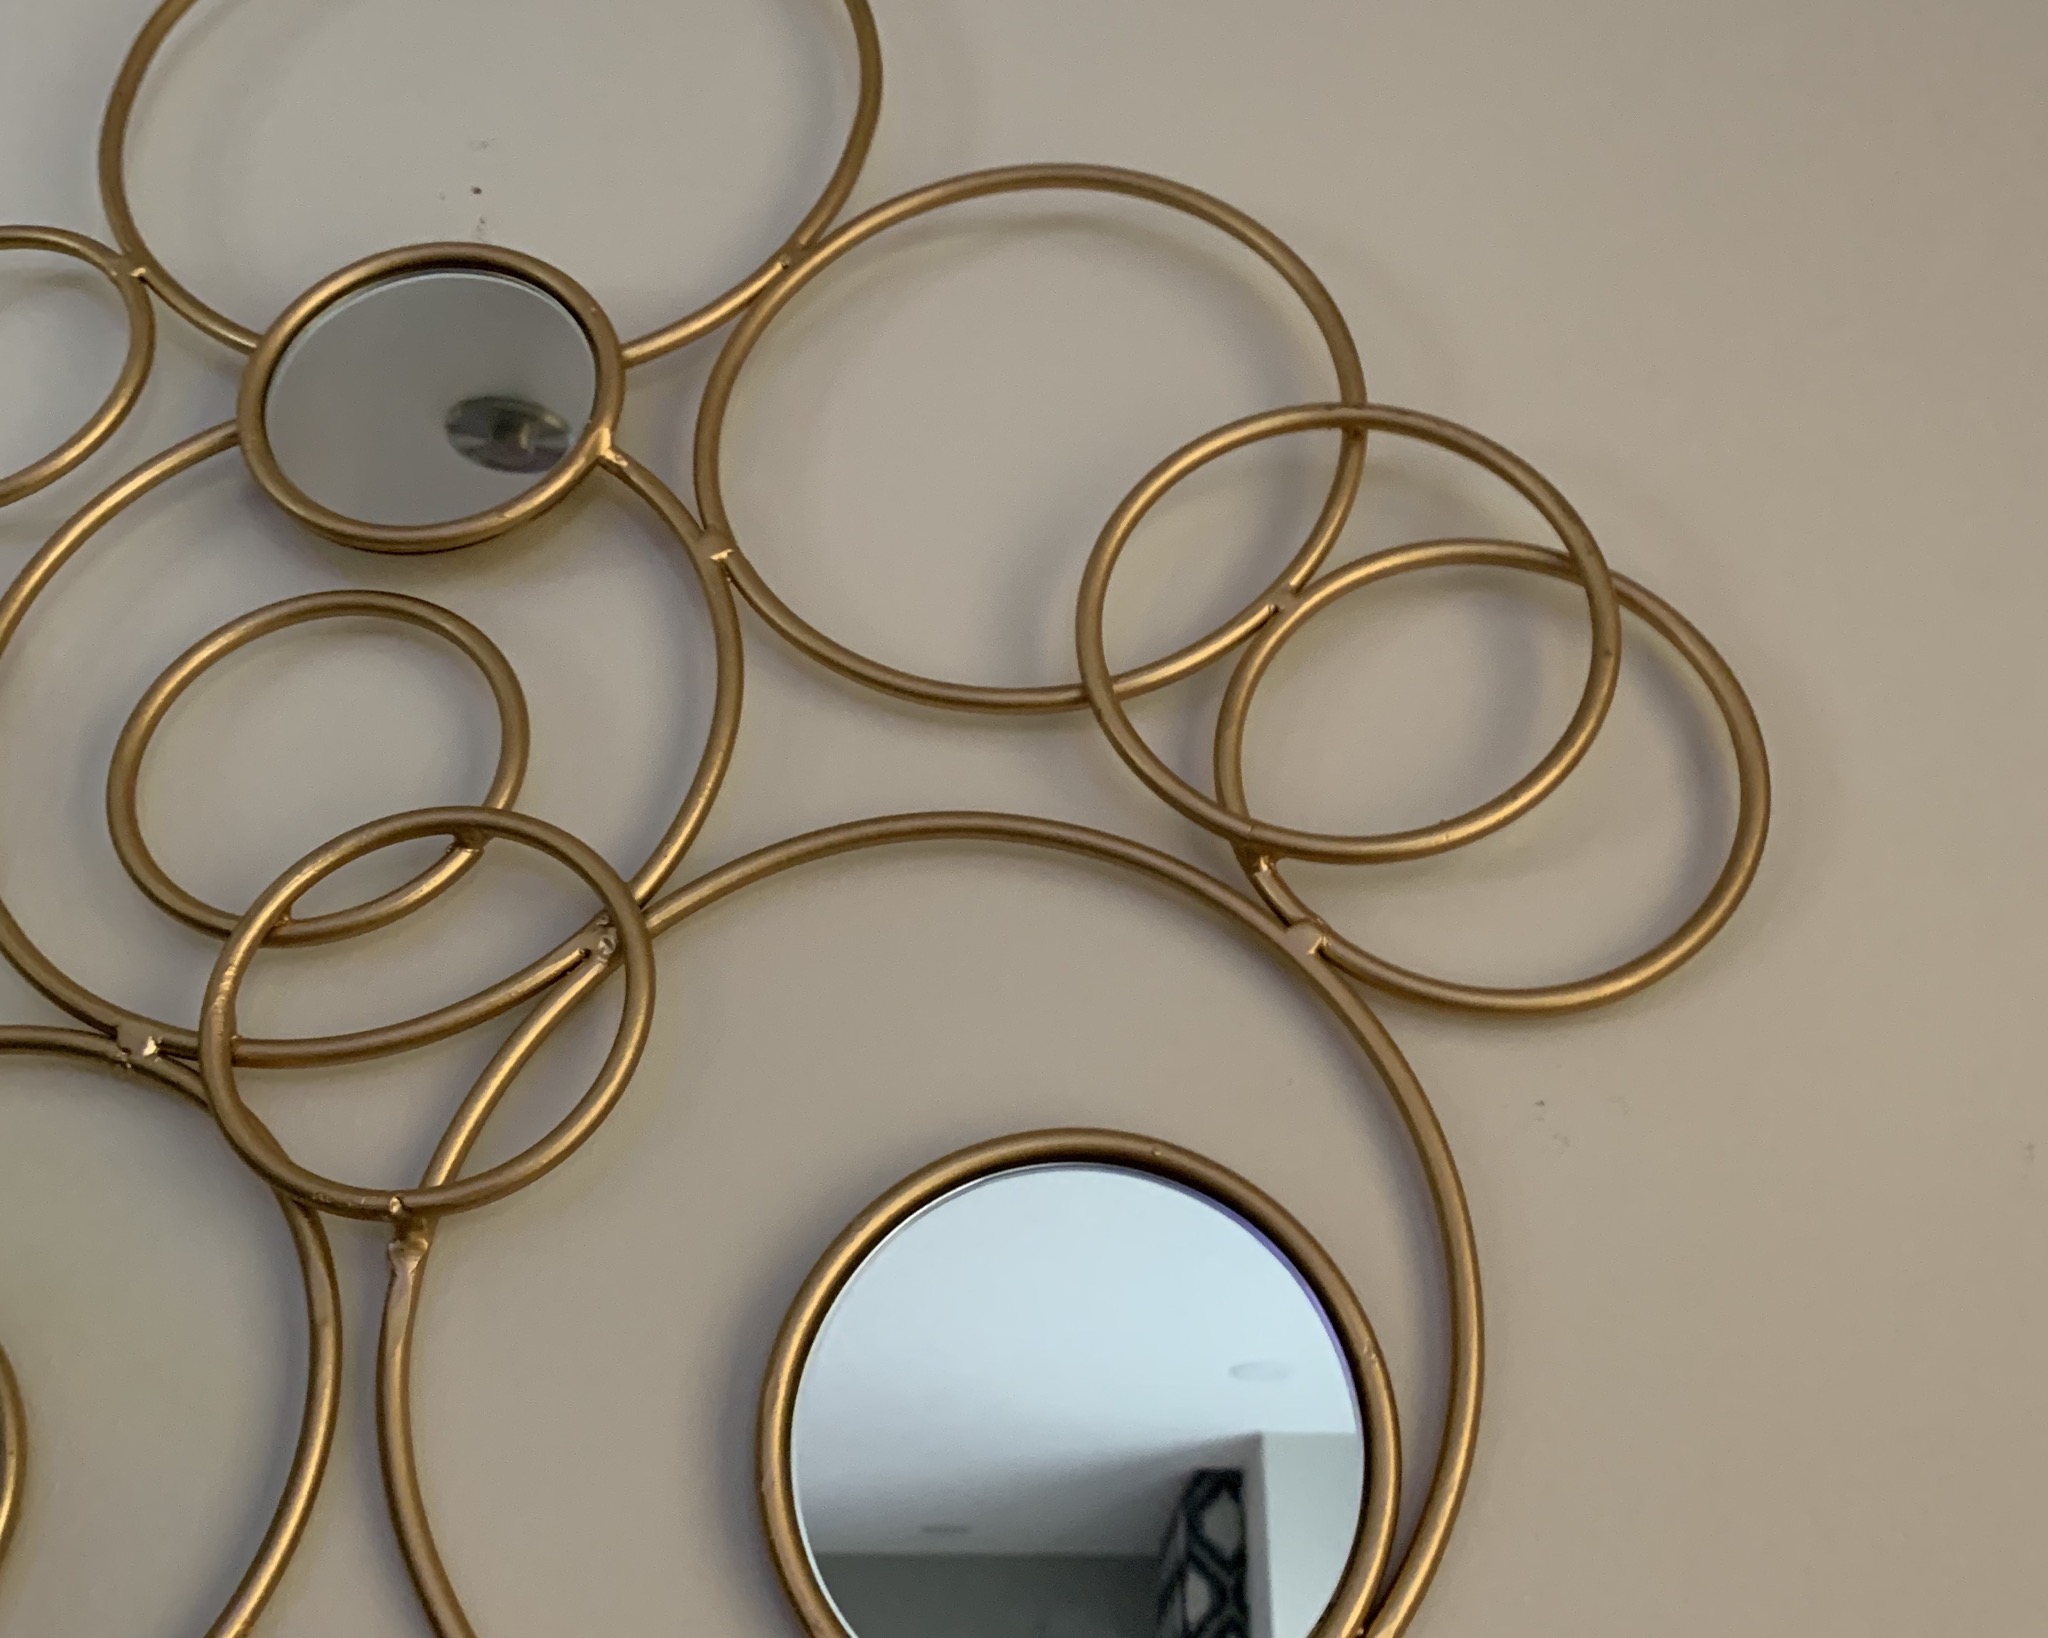
I kind of want to go for a circular design that's more on the minimalistic side but I also want to try out those kinds of patterns you see on gift wraps.
This was the type of project I didn't know how to start. When thinking of castles, usually the first type of castles that pops into mind are the princess-Disney-medieval European castles. But thinking further, I remembered Asia has pretty neat castles of their own — so I went to research some castles from East Asia and that's when I got inspired. Since I really like making things more on the fantasy side of the spectrum, I wanted mine to be a castle floating in the sky. The Blue Castle in Japan was one of the main inspirations to the look of my castle. I started off with the smaller buildings surrounding the castle, which was not too hard since they were just basic extruded rectangle and squares. The hardest parts of the building may have been building the roofs. It took me awhile, but since roof isn't exactly a regular triangle, I figured out I had to loft a rectangle to a slimmer rectangle to make the shape of it. Next was making the castle itself. It has a similar...
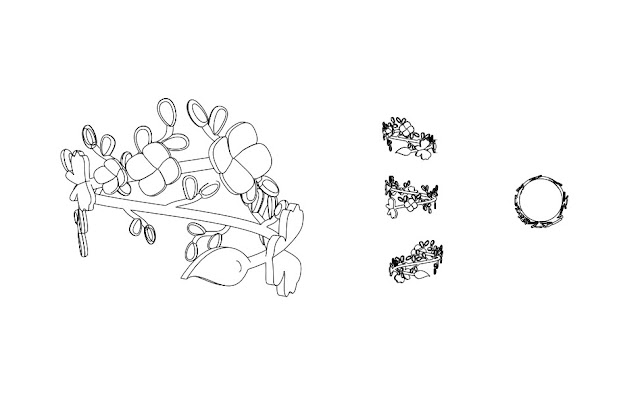
So as a last minute decision, I ended up changing the ring I wanted to go forward with. I went off it based from the second thumbnail from the concept sketches and built more on to it to make it more complex. This is my proof sheet for it: For the final ring, I had to do a lot of experimenting on the flowers and the leaves. During this whole process, the flow command did not like me at all, but i managed to find a way to make it work. Here are the renders: So the thing I was most worried for was probably how the ring would turn out in shapeways. Since I had a lot of thin parts of the ring. I was wondering if I'd have many fixes to do once I check the tolerance test. At first there was a lot of red places but once I changed the material to 'Smooth Fine Detail Plastic' it turned out fine. There's some little red parts, but I don't think it'll affect the final product all too much. So I think I'll risk it. :D
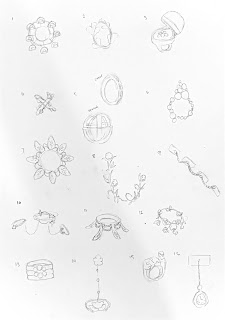
On this project, it’s all about coming up with different concepts for rings/and or accessories. I may or may have not gone overboard on the flower/nature concept-


Comments
Post a Comment