Posts

Showing posts from November, 2020

Lord of the rings: Last minute changes and Outsourcing

Image
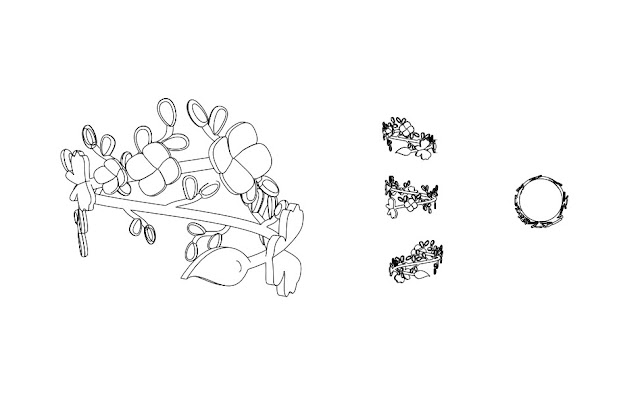
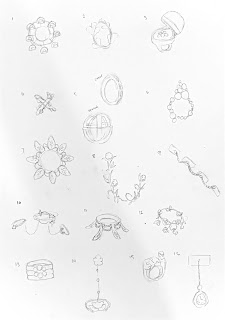
So as a last minute decision, I ended up changing the ring I wanted to go forward with. I went off it based from the second thumbnail from the concept sketches and built more on to it to make it more complex.  This is my proof sheet for it: For the final ring, I had to do a lot of experimenting on the flowers and the leaves. During this whole process, the flow command did not like me at all, but i managed to find a way to make it work. Here are the renders: So the thing I was most worried for was probably how the ring would turn out in shapeways. Since I had a lot of thin parts of the ring. I was wondering if I'd have many fixes to do once I check the tolerance test. At first there was a lot of red places but once I changed the material to 'Smooth Fine Detail Plastic' it turned out fine. There's some little red parts, but I don't think it'll affect the final product all too much. So I think I'll risk it. :D

Lord of the Rings: Prototype

Image
From last weeks peer evaluation, thumbs 5,7, and 13 seemed to be the most interesting to others and I do agree with it. These were the few designs I was already leaning towards to.  For these ring prototypes, I just went for the basic shape and details of the rings. Here's the proof sheet: This is the 3D version: I struggled a lot on the flow tool for the middle three piece flower ring, since it wouldn't go one the surface the way I wanted it to. But with a lot trials and errors, I ended up with a happy accident and got it on there somehow. For now, I'm kinda stuck on which rings I want to go forward with, but the second and third ones would seem to be the ones that would be difficult but more fun to further work with.  

Lord of the rings: concept thumbs

Image
On this project, it’s all about coming up with different concepts for rings/and or accessories. I may or may have not gone overboard on the flower/nature concept-

Completed, rendering time 23:42

Image
Finally made it to the end! Honestly, it's been tricky making the laser pointer since it had so many small parts and measuring them were hell, but we've done it, we got to the end.  The final part I had to do this week was the chain, pawprints and the warning label. I was scavenging through a few youtube tutorials to find out how to wrap around the text and design around the laser pointer and thank god for this tutorial: https://www.youtube.com/watch?v=P-ARMAN3row&ab_channel=Josef1  Without that video the laser pointer wouldn't have looked as finished as it did. Here's an top overview of the exploded object: Side view: Details: Final Result: I'm actually really surprised with the results but also happy with it. At first, it looked off, but once I got through 80% of the parts and started adding textures, it was really coming together.