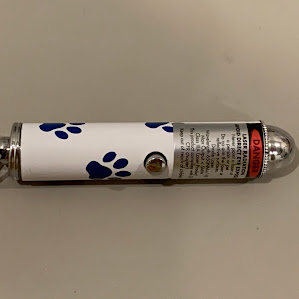
Laser Pointer Progress II

Last class, we learned how to make springs and screw. I had a spring and several screw on caps on my laser pointer so this was a very helpful tool to bring me closer to complete my object. To be completely honest, I almost forgot how to make the springs and screws until my brain recalled everything last minute. Using the sweep1 tool I made the pointy screw on caps for all the open sides of the laser pointer. I then went on to make the circuit board. I first went to make the spring since it was the easiest part of it. The spring was a simple step of measuring the spring and using the helix tool to round it out. This was where I was having trouble with the circuit board. Theres a flat back that was rounded on the sides, but when I rounding the polysurface, there was one corner that just won't fillet like the others. It would create a new polysurface instead of making it part of the original one. The result of the circuit board:


